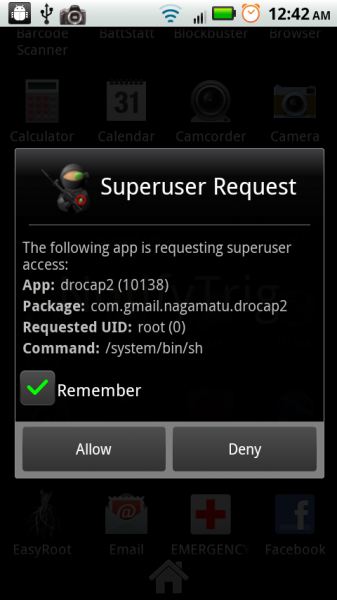
The same rooting method used for the Droid2 that we told the world about yesterday also works on the Droid X running Android 2.2. So anyone that upgraded their DX to Froyo the other day and either lost root or never had it, prepare yourselves to gain control.
All you need to do is follow these directions exactly and superuser access is yours:
*Warning* – As always, when you decide to root your phone, you understand that it voids your warranty. You also take all responsibility should something permanently damage your phone. Droid Life will not be held responsible.
Setup:
– Install adb/Android SDK and Motorola drivers for windows(32-bit or 64-bit)
– Download this file: Droid2Root.rar
– Extract to a directory, I used c:\Droid2Root
– Make sure you have USB degugging enabled
– Change connection to PC ModeProcess:
1. Open command prompt
2. cd c:\wherever-your-sdk-tools-folder-is
3. adb devices (to verify the connection)
4. cd c:\Droid2Root
5. adb push Superuser.apk /sdcard/Superuser.apk
6. adb push su /sdcard/su
7. adb push busybox /sdcard/busybox
8. adb push rageagainstthecage-arm5.bin /data/local/tmp/rageagainstthecage-arm5.bin
9. adb shell
10. cd data/local/tmp
11. chmod 0755 rageagainstthecage-arm5.bin
12. ./rageagainstthecage-arm5.bin13. let the process run until it returns you to c:\Droid2Root (be patient, it may take a bit)
14. cd c:\wherever-your-sdk-tools-folder-is
15. adb devices (to verify the connection)
16. adb shell (you should now have a # prompt)
17. mount -o rw,remount -t ext3 /dev/block/mmcblk1p21 /system
18. cp /sdcard/Superuser.apk /system/app/Superuser.apk
19. cp /sdcard/su /system/bin/su
20. cp /sdcard/busybox /system/bin/busybox
21. chmod 4755 /system/bin/su
22. chmod 4755 /system/bin/busybox
23. mount -o ro,remount -t ext3 /dev/block/mmcblk1p21 /system
24. exit
25. exit
*Note 1* – If you get to step 16 and do see a “#” then something has gone wrong. I was able to simply start the process over and the second time through received the “#”.
*Note 2* – Should you run into other issues, hit up our comment section or the XDA Forum link below.
And this is just a guess, but you have to figure a 1-touch method is in the works already. Stay tuned.
All credit goes to Sebastian Krahmer and XDA Forums.

Collapse Show Comments111 Comments