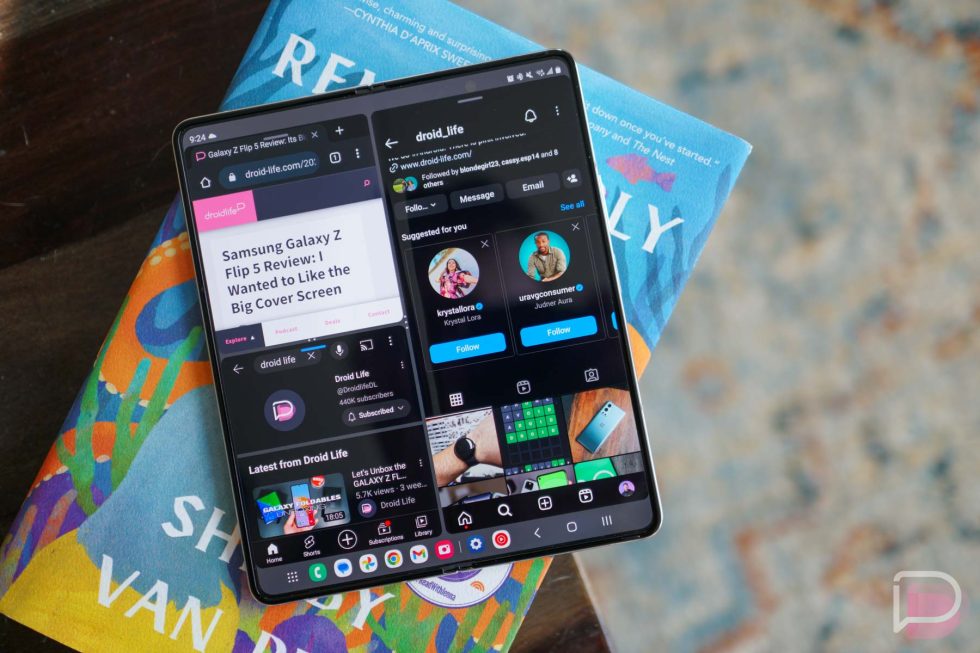
With its large screen, there’s little doubt that buyers of the Galaxy Z Fold 5 should want to take advantage of all that real estate. How would you best accomplish that? For me, multitasking via Multi Window is the main go, but Samsung has built out the feature so much that it can almost feel daunting to get started. To ensure you’re getting the most out of it, let’s go over Multi Window and discover all the tricks.
- Related: Galaxy Z Fold 5 Review
What’s important to note is that virtually all apps are compatible with Multi Window, though, some apps obviously are better designed to work in smaller spaces. If you’re someone who wants to ensure that all of your downloaded apps are supported by Multi Window, there’s a setting inside of the Labs section of the settings menu that will enable “Multi Window for all apps.” After being enabled, every app will open in pop-up view or split screen, even if they haven’t been optimized for it. User mileage will vary here.
Getting Started
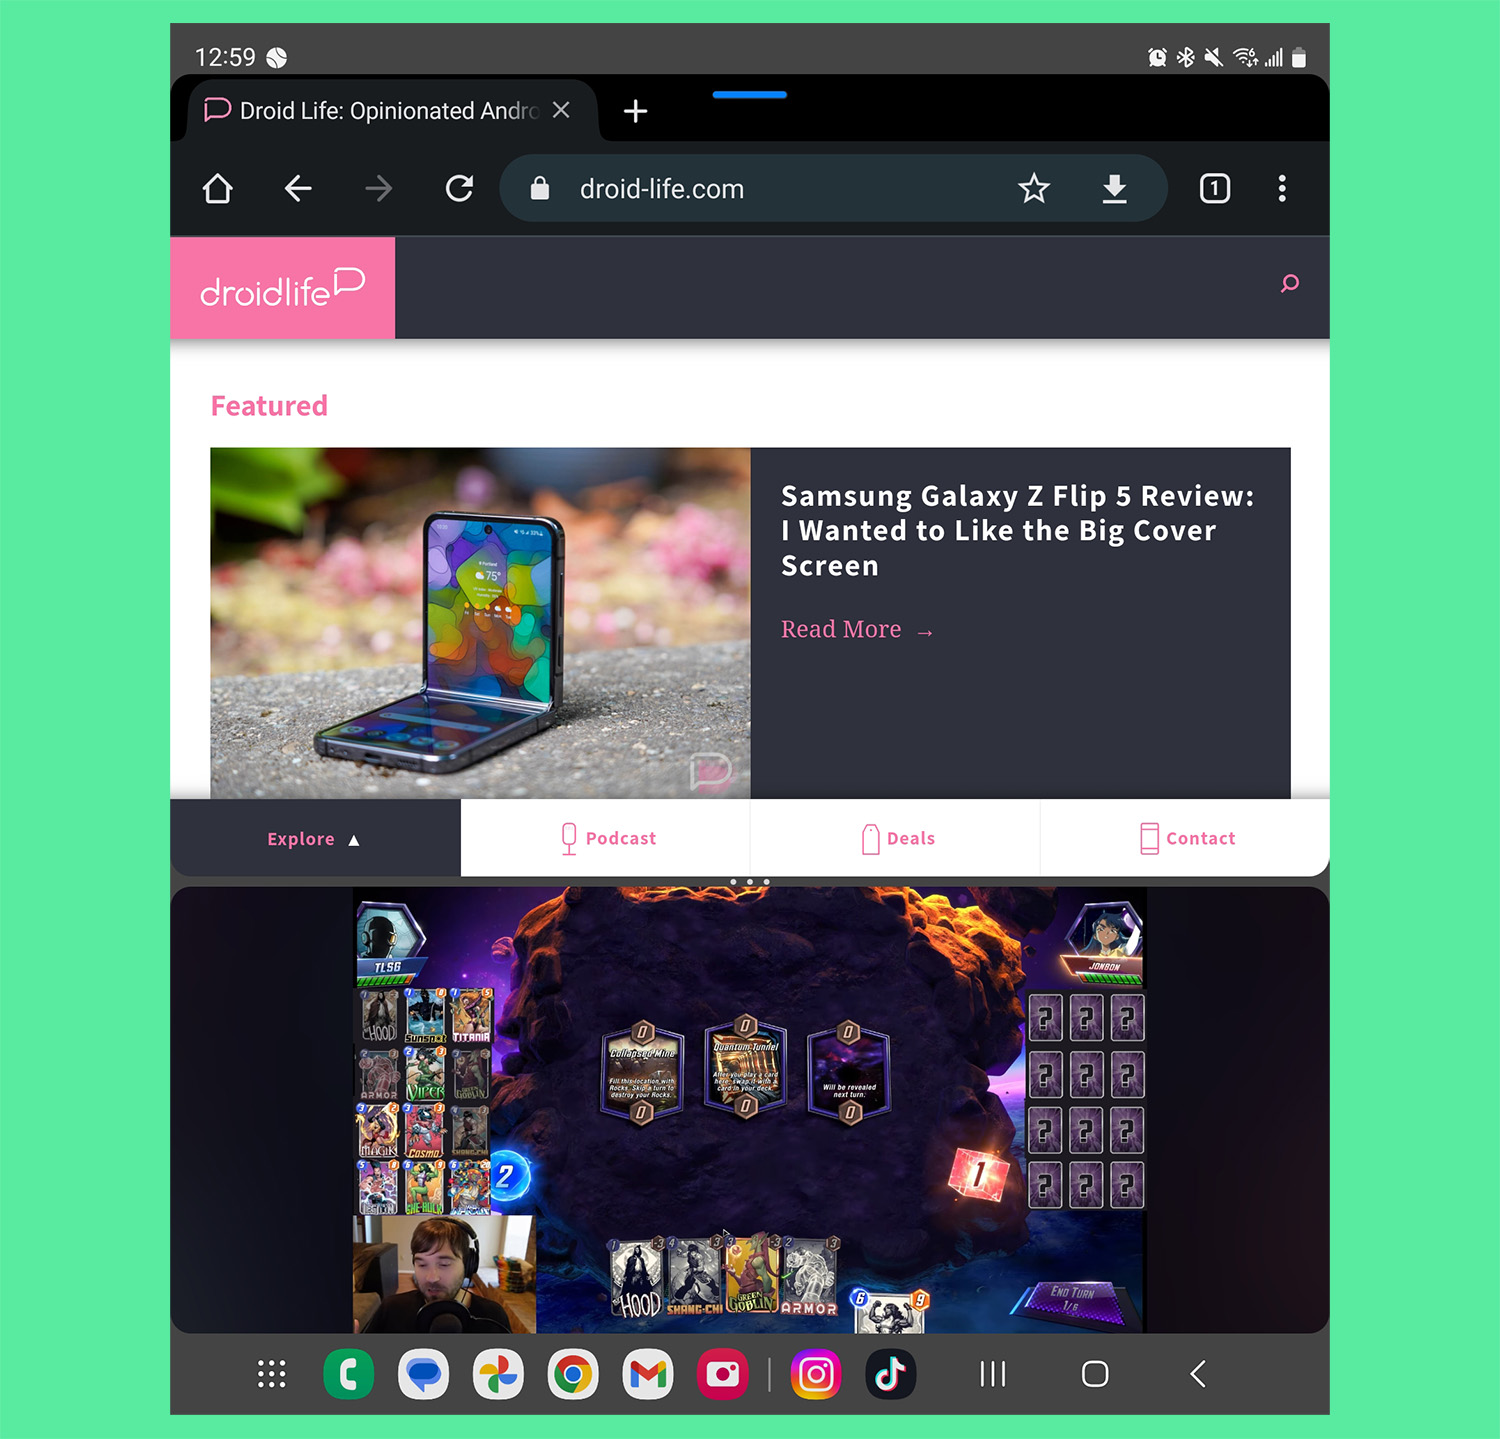
Once you have the apps you want to multitask, getting started is easy. Open your first app. When done, the One UI software’s built-in Taskbar will appear at the bottom, and from here, you can start dragging and dropping any app you want onto the screen. Two apps I use side-by-side all of the time are Chrome and Gmail. Depending on where you drop your second app, it will open vertically or horizontally positioned next to the first app.
Some apps function better when horizontal versus vertically. For my examples, Chrome and Gmail, the vertical layout is perfect. YouTube is an example of an app that looks much better when horizontal, as your video will take up an entire half of the display when playing. If you’re using two apps or up to three, you can resize each window by tapping and sliding the three dots on the apps’ windows to fit your needs.
Multi Window and Pop Up View
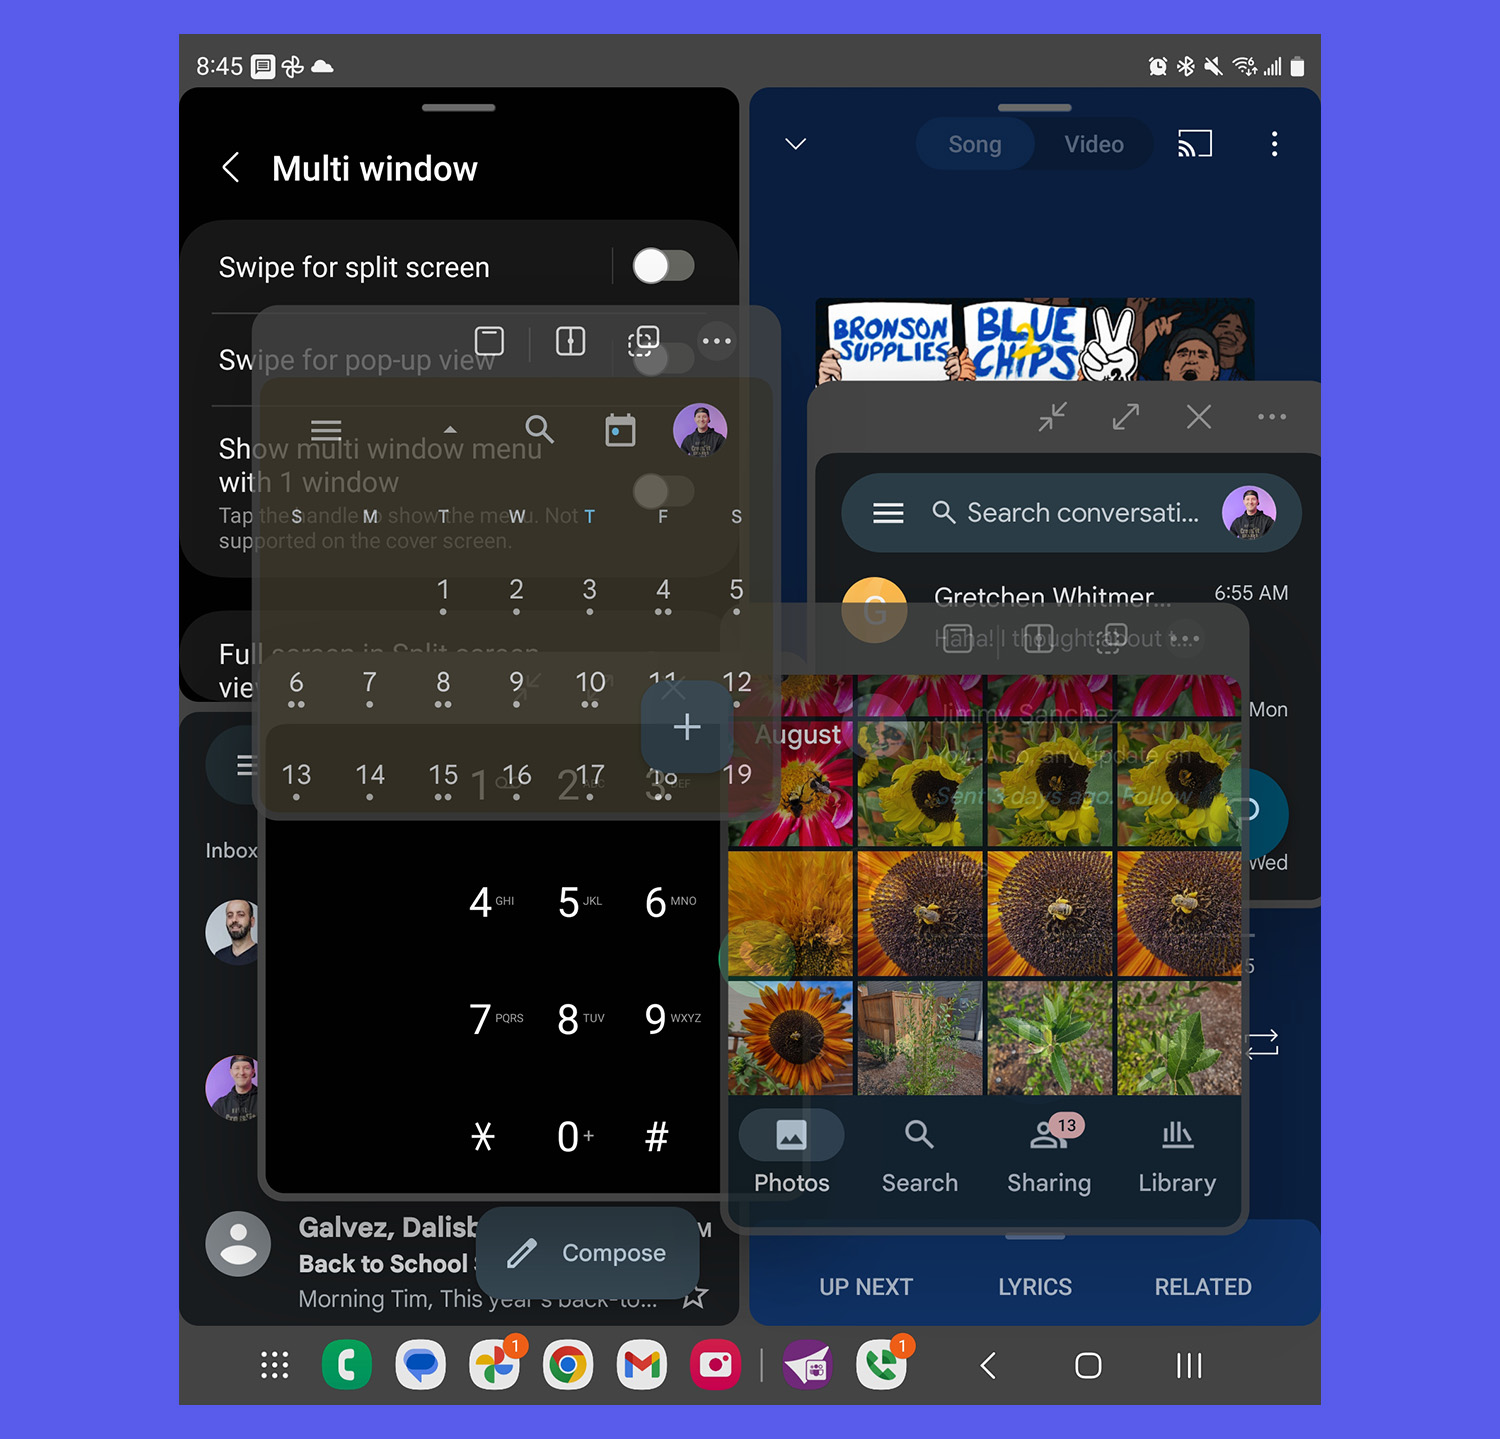
Where things start getting crazy is when using more than three apps simultaneously, but it’s manageable. Multi Window only supports three apps, but should you need more, that’s when Pop Up View will begin to be your friend. Accessible even when you haven’t yet used up your Multi Window slots, Pop Up View allows for you to have many apps running from what are essentially bubbles that can be collapsed and moved to wherever you need.
Each pop up can have its opacity tweaked so you can see content behind the window, which can be helpful at times, but you can also quickly turn a pop up into a full window on its own by clicking the expand button. In addition, every pop up can be quickly made into a Multi Window app by hitting the side-by-side button. Should you not have another app open, an app picker UI will appear and let you decide what app you want to run side-by-side with the one you just opened in Multi Window.
Additional Settings to Know
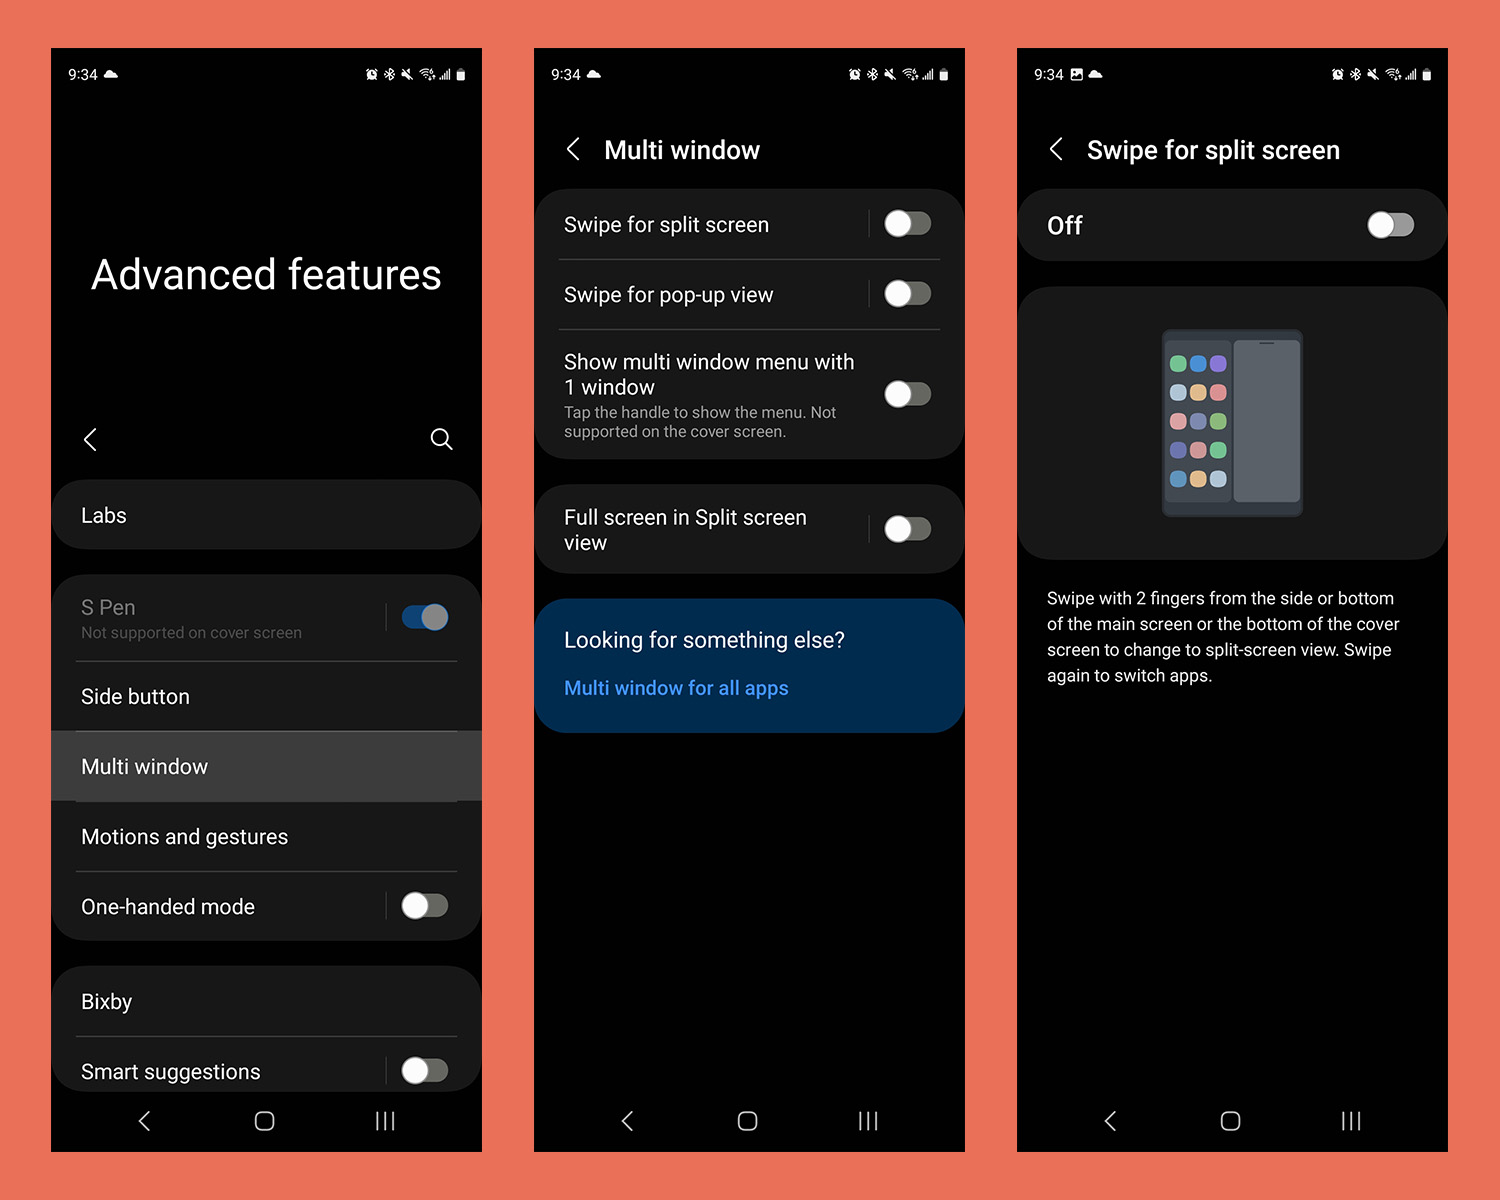
Samsung has built in additional settings for Multi Window inside of its Advanced Features settings menu. For example, users can enable and disable the following: Swipe for Split Screen, Swipe for Pop Up View, Show Multi Window Menu with 1 Window, and Full Screen in Split Screen View. The two swiping options are quite slick, though, one can lead to accidental usage from my experience. When Swipe for Pop Up View is enabled, you can swipe directly down from the top right corner when inside of an app to bring it into a pop up UI. It’s convenient and looks sweet, but again, it can sometimes happen by accident when you’re only trying to access your notification bar.
If you find the navigation bar and status bar are taking up too much space when in split screen mode, you can enable that last option and it will hide both of those bars for added real estate. When using apps like YouTube or something similar where you want as much space as possible, it’s nice to have.
Hopefully this post has been helpful in showing off a bit of what this phone is capable of on the multitasking side. If you thought this was it, you’d be mistaken. The phone also supports the S Pen stylus for better note taking and improved controls when performing certain functions (example: dragging and dropping items), plus I didn’t even touch on the Flex functions. Maybe next time?
In the meantime, if you’re looking to scoop up the phone that can literally do it all, follow the link below.


Collapse Show Comments1 Comment