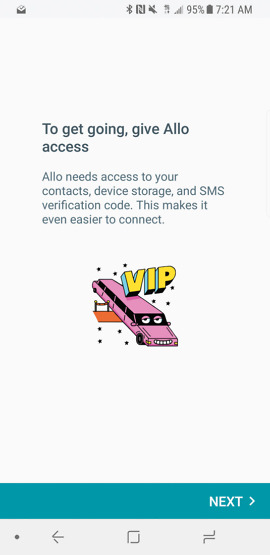
Need the quick and easy instructions on how to setup Google Allo for Web on your Android phone and Chrome browser? It’s super simple and I’m sure you can do this on your own, but for those who need some visual aides, we’ve got them. Let’s walk you through it!
Setup Allo for Web:
1. Install Google Allo on your Android phone (iOS pairing not yet supported).
Google Play Link
2. Setup the app by confirming your phone number, adding a profile picture and your name, choosing a Google account for backups, etc.

3. Once done, slide out the side menu in Allo to find the “Allo for Web” option
4. Tap that and you’ll then be asked to open allo.google.com/web on your desktop Chrome browser.
5. You’ll also be asked to scan a QR code on that page with your Allo app.
6. Once scanned, you should immediately see Allo sign-in on Chrome and be ready to chat with your synced conversations from the Android app. It’ll look like this.
7. And yep, Google Assistant is there! You can bring it into conversations or you just have your own individual help session with the Assistant.
8. Additionally, you’ll see options within chats for emoji, stickers (and downloadable sticker packs), and attachments. Allo, like in the app, will show you quick response recommendations too.
9. You have access to some settings, which you’ll find by clicking on your profile picture on the web.
10. You’ll get desktop notifications too, along with sounds and message previews if you allow them.
11. Keyboard shortcuts!
12. Need to remove your Chrome connection? Easy, just go back into the Allo Android app, swipe out the navigation menu, tap again on “Allo for Web,” and you’ll see all of the instances that you’ve signed in. Tap the trash can next to each one individually to sever that connection. Or you can “Sign out of all computers.”
13. And that’s all for now!
This post was last modified on January 13, 2020 9:47 am

