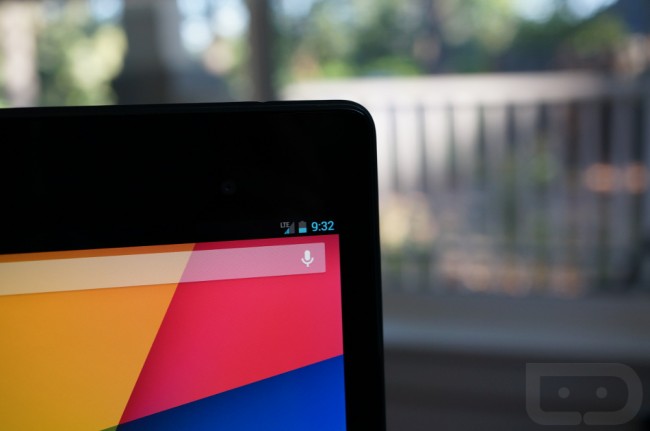

When the new Nexus 7 (2013) with LTE became available earlier this week on Google Play, I immediately purchased one even at its $349 price. This is the version of the tablet that I have been waiting for. Since it has the ability to connect to Verizon’s LTE network (AT&T and T-Mobile’s too), it was a no-brainer as a device that I could use while on-the-go when traveling or should I happen to step out of my cave home office. WiFi tablets have never really fit into my life as I always felt as if they needed to be stuck at home on WiFi, tethered, or in a state of struggle while finding an open network in an airport or other location. With this LTE model, that’s no longer a worry.
So here is a quick video on how the whole LTE connectivity situation works for this device. This isn’t a review of the Nexus 7 (I promise we’ll do one of those one day), but it does show you that getting up and running on Verizon’s (or other carrier’s) LTE networks is incredibly simple. Assuming you have a microSIM through your carrier of choice, all you need to do is drop it in the SIM tray and off you go. You could pull the SIM out of your phone if you’d like – by no means do you have to purchase a separate tablet plan to use this phone on Verizon. All it takes is a SIM swap from phone to tablet.
The official press docs for this model show that it supports LTE bands of 1/2/3/4/5/13/17. If you want to run it on HSPA+, it supports 850/900/1900/2100/1700/2100MHz frequencies. Unfortunately for Verizon customers, this does not support Big Red’s 3G, so if you leave an LTE area, you will be stuck without coverage until you return to one.
Video
This post was last modified on January 13, 2020 11:28 am
