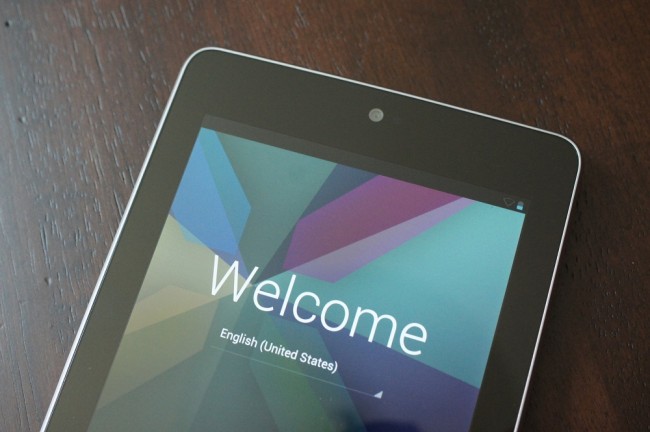
Before we start, I’ll just get this out of the way. Yes, we know that you can use a 1-click tool, like the one from WugFresh, to do this all without any work. You won’t need to worry about the Android SDK or drivers or anything, which is why it’s called a 1-click. This set of instructions is for those that want to know what that 1-click does. It’s also a way to get the SDK setup so that you can use it in the future if you were to run into any problems. While we understand the need for 1-clicks, we also recommend that you know exactly what they are doing to your phone or tablet. This guide will give you that.
Instructions:
1. Most important piece to this, is getting the Android SDK set up properly. [Instructions]
This can be one of the most difficult things to get set up, however, you cannot go forward without the SDK and adb set up and working. The instructions we linked should get you setup. Once the SDK is installed, you can move on to step 2.
2. Place a fastboot.exe file in your SDK/Tools (or Platform-Tools) folder (same as your adb.exe file) if it is not there already. [Download]
*You may also need to move AdbWinApi.dll into the same folder as your adb.exe and fastboot.exe if you are running into issues. I believe in the latest SDK, that everything defaults to SDK/Platform-Tools rather than SDK/Tools. Just depends on the version you are using. The big thing, is to get adb.exe, fastboot.exe, and AdbWinApi.dll into the same folder.
3. On your device, turn Developer options and USB Debugging on.
Settings>Developer options>USB debugging
4. Plug your tablet into your computer.
5. On your computer, head into SDK/Platform-Tools or wherever your adb.exe and fastboot.exe files are.
6. Hold SHIFT and right click – choose “Open command window here.”
7. Type the following command:
adb reboot bootloader
8. Your tablet will turn off and reboot to the bootloader.
9. Type the following command:
fastboot oem unlock
*This step will fully wipe your device, just like a factory reset does. It’s a good thing to unlock your device before you start to customize it and load it up with all of its apps because there is no way to avoid losing it all with this command.
10. Your tablet will then ask if you want to unlock.
11. Using the volume keys, highlight “Yes” and then press the power button to select it.
12. Your bootloader will now be unlocked.
13. Choose to start your tablet and it will factory reset itself and reboot.
14. You are now operating with an unlocked Nexus 7.
Quick video instructions:
*The device in the video is the Galaxy Nexus, but don’t worry, it’s the same exact process.
This is essentially just a copy of our Galaxy Nexus bootloader unlock tutorial since all Nexus devices can be unlocked the same way. To figure out any issues that you may run into, that post is a great place to start. There are some 500+ comments with users addressing issues like crazy.

Collapse Show Comments59 Comments