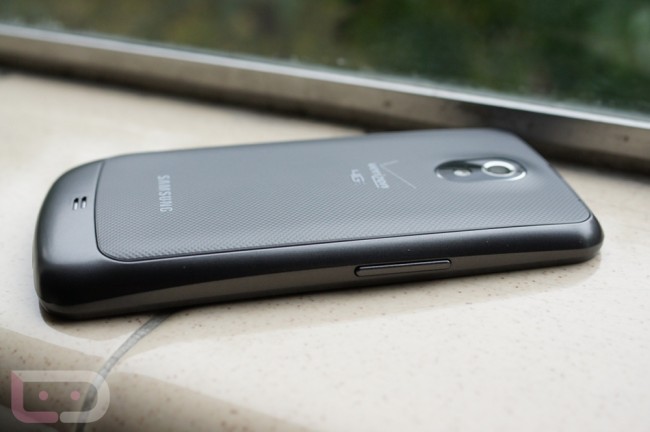
Unlocking the bootloader and rooting your Galaxy Nexus is really only half the battle. There may come a time when you need need to lock everything back up, including that bootloader. Thanks to the Android team, we have the factory images that can not only fix a bootlooping or soft-bricked device, but make it look like you just pulled it out of the box.
Instructions:
*Note – These instructions will work for any Nexus device, you just need to swap out files and filenames in the command lines.
1. Download the newest factory images to your PC.
2. Unzip the file and its contents into your SDK/Tools folder (wherever your adb.exe and fastboot.exe files are).
*Make sure they are not in their own folder, but have all been extracted to Tools.
3. From within your Tools folder, open a command prompt (SHIFT + right click – “open command prompt here”):
4. Type the following commands, allowing each to finish before moving onto the next:
*If flashing 4.0.4 or newer files, you will want to swap out to matching file names in the commands below.
adb reboot bootloader
fastboot flash bootloader bootloader-toro-primekk15.img
fastboot reboot-bootloader
fastboot flash radio radio-toro-i515.ek02.img
fastboot reboot-bootloader
fastboot flash radio-cdma radio-cdma-toro-i515.ek05.img
fastboot reboot-bootloader
fastboot -w update image-mysid-icl53f.zip
fastboot reboot-bootloader
fastboot oem lock
5. Reboot your phone by highlighting “Start” and pressing the lock switch.
6. It really is as simple as that. Your phone is now back to a 100% stock, unrooted and locked state.

Collapse Show Comments156 Comments