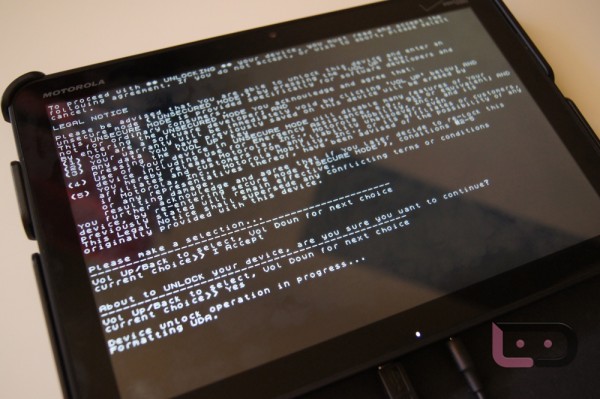

The Motorola XOOM bootloader has been easily unlocked using “fastboot oem unlock” and thanks to a bit of help from some key players (Koush, Pete, and Charlie) in the Android community, we’ve put together this simple guide for you. If you run into issues, be sure to drop them in the comments.
Instructions:
*Warning 1* – This will void the warranty on your brand new XOOM. It also means that you may not be able to upgrade to 4G LTE, but I can’t confirm that.
*Warning 2* – This will completely wipe and format your XOOM. Many of you have had yours for a full day now, but it’s probably a good idea to do this now than after you’ve had it for a month.
*Note* – This uses adb. If you are into hacking on your Android devices at all, it’s time you learn at least some basic commands. Not everything in this world is a 1-click breeze.
1. Get the latest Motorola USB drivers.
2. Get the newest Android SDK and install it.
*They’ve changed the location of some files from the Tools folder and placed them in Platform Tools. Go into Platform Tools, copy everything, and paste it all in your Tools folder.
3. Open a command prompt from within your Android SDK Tools folder.
*Make sure nothing is selected and hold SHIFT+Right click – select “Open command window here.”
4. Type: adb reboot bootloader
5. Your XOOM will reboot into the bootloader showing “Starting Fastboot Protocol Support.”
6. Type: fastboot oem unlock
7. Read the warning on your XOOM’s screen.
8. You may have to tap Volume Down to switch it to “Accept.”
9. Then press Volume Up to actually “Accept.”
10. Once you accept, your XOOM will be unlocked and formatted.
11. And now on to rooting instructions: How to: Root the Motorola XOOM.
+1 Motorola XOOM.
This post was last modified on January 2, 2020 10:04 pm
