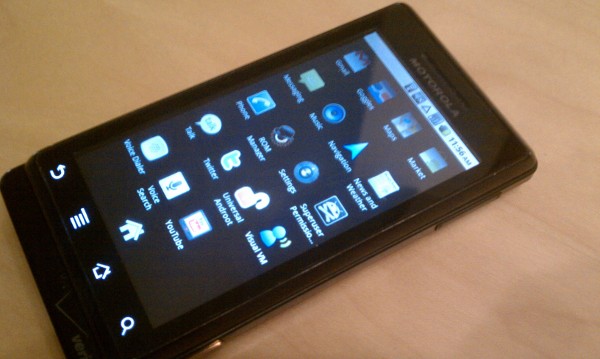

Now that the Motorola Droid has received Android 2.2, we get asked quite often when we’ll update our guide to rooting especially from those that were waiting on Froyo before taking the dive. Fortunately for everyone, the process takes a simple click rather than that long drawn out RSD Lite process we had to run through during the 2.1 days.
This post should act as your one-stop guide to rooting your Droid running Android 2.2, flashing a custom recovery image, and creating your first nandroid backup to get you on your way to custom ROMs and so much more.
If you are looking for reasons as to why someone would root their phone, check out this poll we ran a while back. The comments serve as one of the best compilations of reasoning you’ll find anywhere.
Enjoy!
Update: This rooting method works on Android 2.2 build FRG01B. It does not currently work on FRG22D. If you would like root access, I suggest rooting instead of installing the new FRG22D update.
_________________________________________
Instructions for Rooting Android 2.2:
*Warning* – Rooting your Droid will void its warranty. There is also a chance that you could do permanent damage to your device and possibly “brick” it. You accept all risk should you decide to follow this process. Droid Life accepts no responsibility.
1. Download and install Universal Androot.
2. Open Universal Androot and tap the “Root :-)” button.
3. It will run through a series of steps.
4. If you the process completes successfully, it will look like this.
5. Congrats! You are rooted!
6. Now reboot your phone to finish off the process.
_________________________________________
*You can stop here and enjoy being rooted or you can hit up the next set of instructions to get a custom recovery image on your phone which will allow you to make full backups and flash custom ROMs.
_________________________________________
Installing a Custom Recovery:
1. Open the Market and search for ROM Manager. Download and install it.
2. Open ROM Manager and select “Flash Clockwork Recovery” at the top.
3. If asks you for permission, check the box and tap “Allow.”
4. ROM Manager will now flash Clockwork Recovery onto your phone. When it finishes, it will tell you.
5. It is now time to create a full nandroid backup and prepare for custom ROMs!
_________________________________________
*Time to create a nandroid backup which will save you should you have a misstep somewhere in the future while flashing a custom ROM, new recovery, etc. Nandroid backups should be created constantly to ensure you have a current backup of your phone.
_________________________________________
Creating a nandroid backup:
1. In ROM Manager, tap the option to “Reboot into Recovery.”
2. Using the volume up/down keys, scroll down to “nandroid” and press the camera button.
3. Choose “Backup.”
4. Clockwork Recovery will now create a full nandroid backup of your current phone settings.
5. When it finishes, choose “reboot phone.”
6. You now have a rooted phone, custom recovery and a full nandroid backup.
You can now participate in our Custom Theme Friday’s, flash future ROMs, Android leaks and so much more with your Motorola Droid. Hope this helped and feel free to drop your comments or questions below!
This post was last modified on February 16, 2020 10:53 pm
